How to Install Helm Charts in Kubernetes: A Step-by-Step Guide
I'm a software developer and open-source contributor
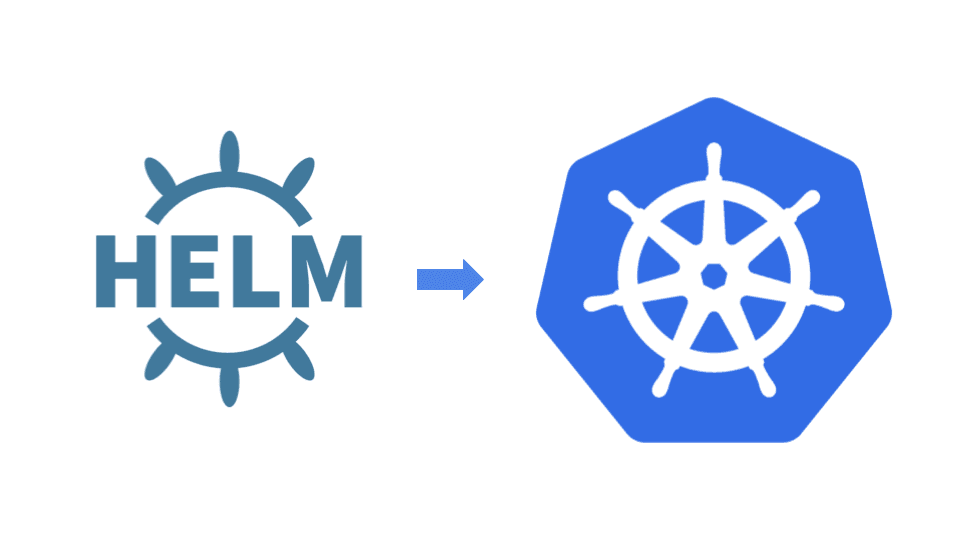
If you're deploying applications to Kubernetes, you might have heard of Helm, a package manager for Kubernetes that makes it easy to install, upgrade, and manage Kubernetes applications. Helm uses a concept called "charts" to define the components and dependencies of a Kubernetes application. In this guide, we'll show you how to install a Helm chart in Kubernetes using the Helm CLI.
Prerequisites
Before you can follow this guide, you'll need the following prerequisites:
A running Kubernetes cluster
kubectl command-line tool installed
If you need help setting up a Kubernetes cluster, you can check out the official Kubernetes documentation. For example, to install Minikube, you can follow the instructions in the official Minikube documentation at https://minikube.sigs.k8s.io/docs/start/.
Step 1: Install Helm
The first step is to install Helm on your local machine. Helm can be installed on different operating systems, such as Linux, macOS, and Windows.
1.1. Open a terminal window and execute the following command to download the installation script:
curl https://raw.githubusercontent.com/helm/helm/main/scripts/get-helm-3 > get_helm.sh
1.2. Make the script executable:
sudo chmod 700 get_helm.sh
1.3. Run the installation script:
sudo ./get_helm.sh
1.4. Verify that Helm is installed correctly by running the following command:
helm version
Step 2: Adding a Helm repository
Before you can install a Helm chart, you'll need to add a Helm repository to your Helm configuration. A Helm repository is a place where Helm charts are stored and distributed. You can add multiple Helm repositories to your Helm configuration.
2.1. Add the Helm chart repository:
To add a Helm repository, use the helm repo add command. For example, to add the official Kubernetes charts repository, run:
helm repo add stable https://charts.helm.sh/stable
This will add the stable repository with the URL https://charts.helm.sh/stable.
2.2. Update the local Helm chart repository cache:
helm repo update
The helm repo update command is used to update the local Helm chart repository cache. This command retrieves the latest information about the available charts from the remote repositories listed in your local Helm client configuration file (~/.config/helm/repositories.yaml).
Step 3: Installing a Helm chart
To install a Helm chart, use the helm install command. The basic syntax of the command is:
helm install [RELEASE_NAME] [CHART_NAME]
For example, to install the Prometheus monitoring system, run:
helm install prometheus stable/prometheus
This will install the Prometheus chart from the stable repository and create a release named prometheus.
Once the installation is complete, you can use the kubectl command to check the status of the deployed resources:
kubectl get pods
This will show the list of pods running in the default namespace, including the Prometheus server.
Note: The Helm chart may take some time to install all the Kubernetes resources.
Here's an example of the output you should see after running kubectl get pods:
$ kubectl get pods
NAME                                            READY   STATUS    RESTARTS   AGE
prometheus-alertmanager-7f4c99f4d8-6g26n         2/2     Running   0          2m
prometheus-kube-state-metrics-7d59d84b7c-dq64t   1/1     Running   0          2m
prometheus-node-exporter-9rxkj                   1/1     Running   0          2m
prometheus-pushgateway-799dd5f5df-5pq9s          1/1     Running   0          2m
prometheus-server-7b8fb8b998-qhjcb               2/2     Running   0          2m
Congratulations! You have successfully installed a Helm chart on your Kubernetes cluster using Helm. Helm offers a powerful and user-friendly package management system that simplifies the deployment and management of applications on Kubernetes.