Understanding AWS Security Groups for beginners

I'm a software developer and open-source contributor
AWS can be easiest to learn and at the same time can be most tedious to learn. I remember when I was learning about the EC2 service, I always got confused what is the use of these different-different terms that come across one after the other during the launching of a new ec2 instance. Like, "Hmm!, I don't know about the VPC, let's learn it. I don't know about the Security Group. let's see it, Let's see this, Let's see that, blah, blah..." But, from my experience, I've found that rather than learning about every service, we can get our hands dirty and can understand by doing some practical examples. So, in this blog just follow me and I'll explain everything about Security Groups, their role in controlling ongoing and outgoing traffic/requests from the ec2 machine or docker containers, and at last how they can act as a fireball by controlling the traffic for your instance.
What are Security Groups?
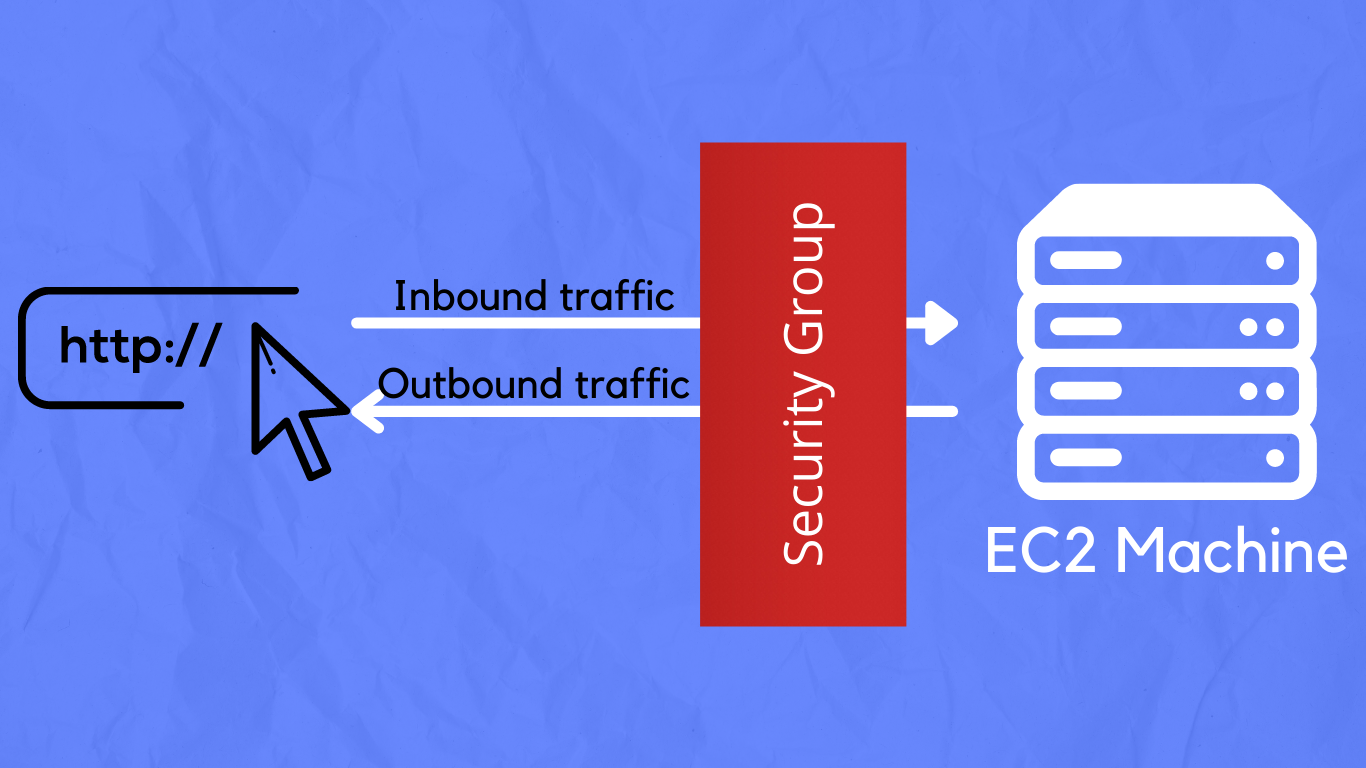
- Security Groups are fundamental to network security in AWS
- They control the inflow & outflow traffic of traffic from EC2 Machines
Creating a new Security Group
Now we'll understand security groups in detail with a practical approach.
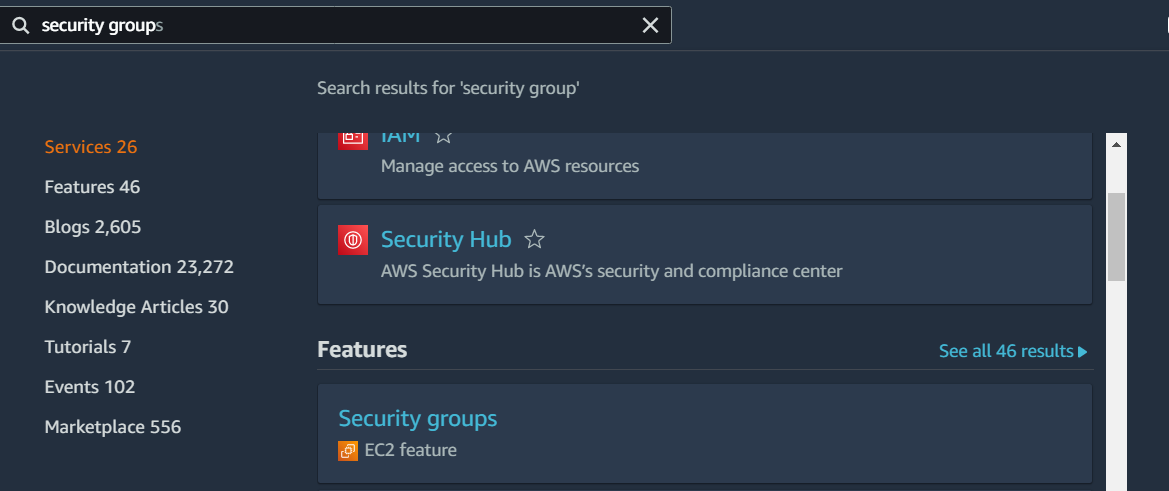
So, let's create a Security Group by logging into the AWS console and selecting the Security Group feature in the EC2 service.
Now create a new security group by clicking on the
Create security groupbutton on the top rightOn the next page choose an appropriate
Security group nameandDescriptionwith the defaultVPC. The VPC id can be different in your console, so don't need to worry.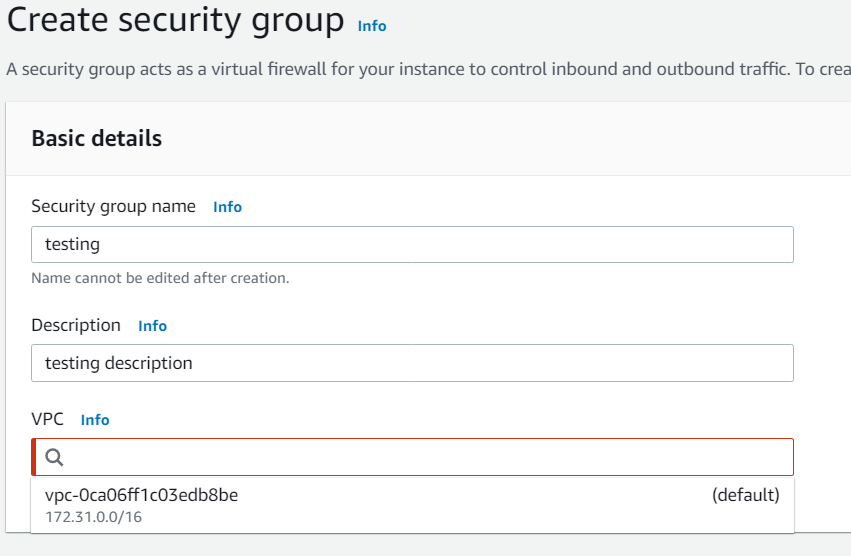
Now, hit the
Create security groupbutton on the bottom right to create the Security Group.
Attaching the security group to an ec2 instance
- Now create a new ec2 machine by going to the
Launch instanceswizard and name the instance and edit itsNetwork settingsby clicking the edit button and selecting thetestingsecurity group we have created so far as shown below.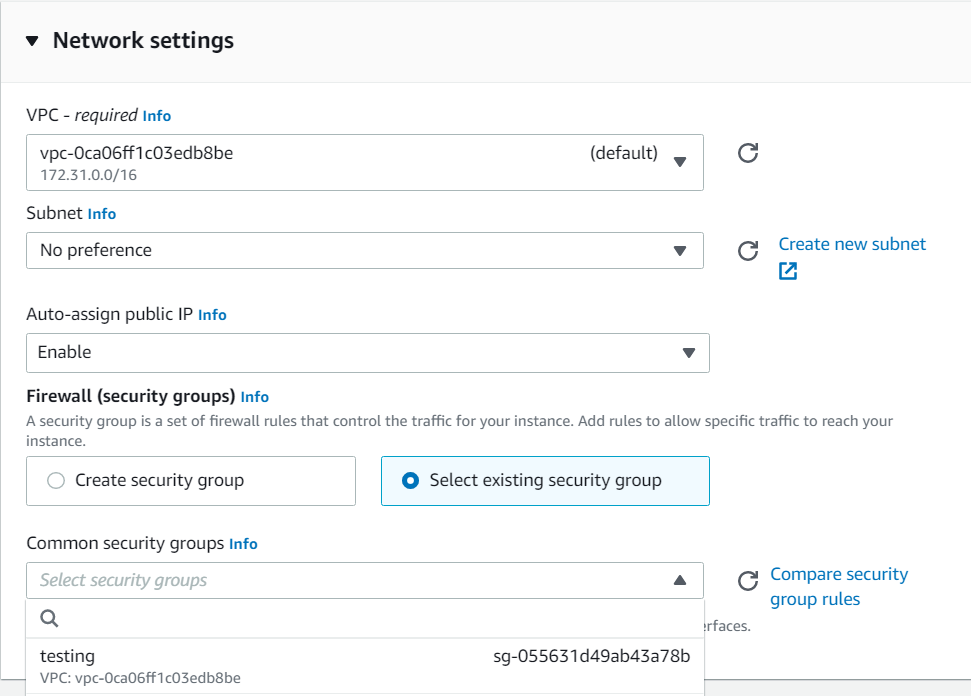
- Make sure to add your favorite key pair to ssh into your machine and start your ec2 machine by clicking the
Launch instancebutton.
SSH into your EC2 machine
In the last step, we've successfully created a new Security Group and attached it to an ec2 machine. Now, let's try ssh into your ec2 machine using the key-pair and the public IP address of your machine into your git-bash/terminal.
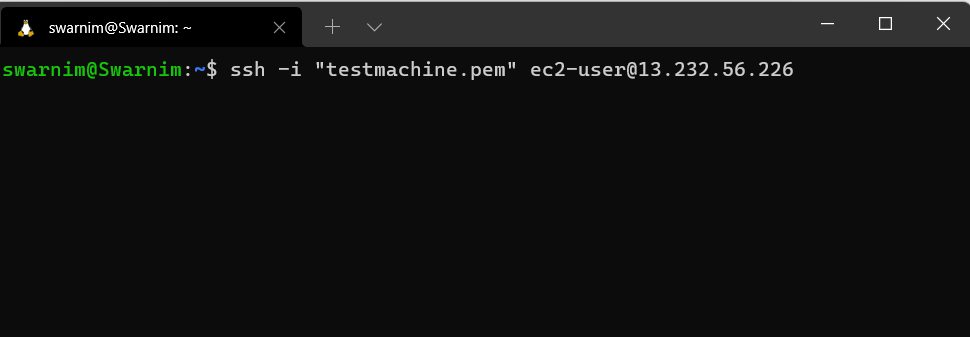
No worries! You'll not able to ssh into your machine because remember we've not added any inbound rules to ssh i.e. we need to open port 22 in our inbound to ssh successfully.
Now let's go to the
Security Groupsand click the testing security group to edit its inbounds rules.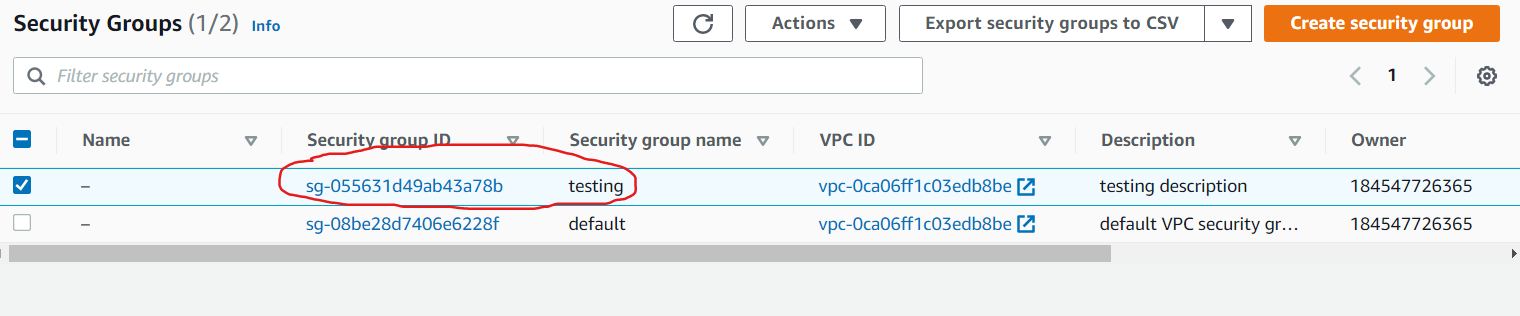
In the next window, click on the
Edit inbound rulesbutton to edit inbound rules.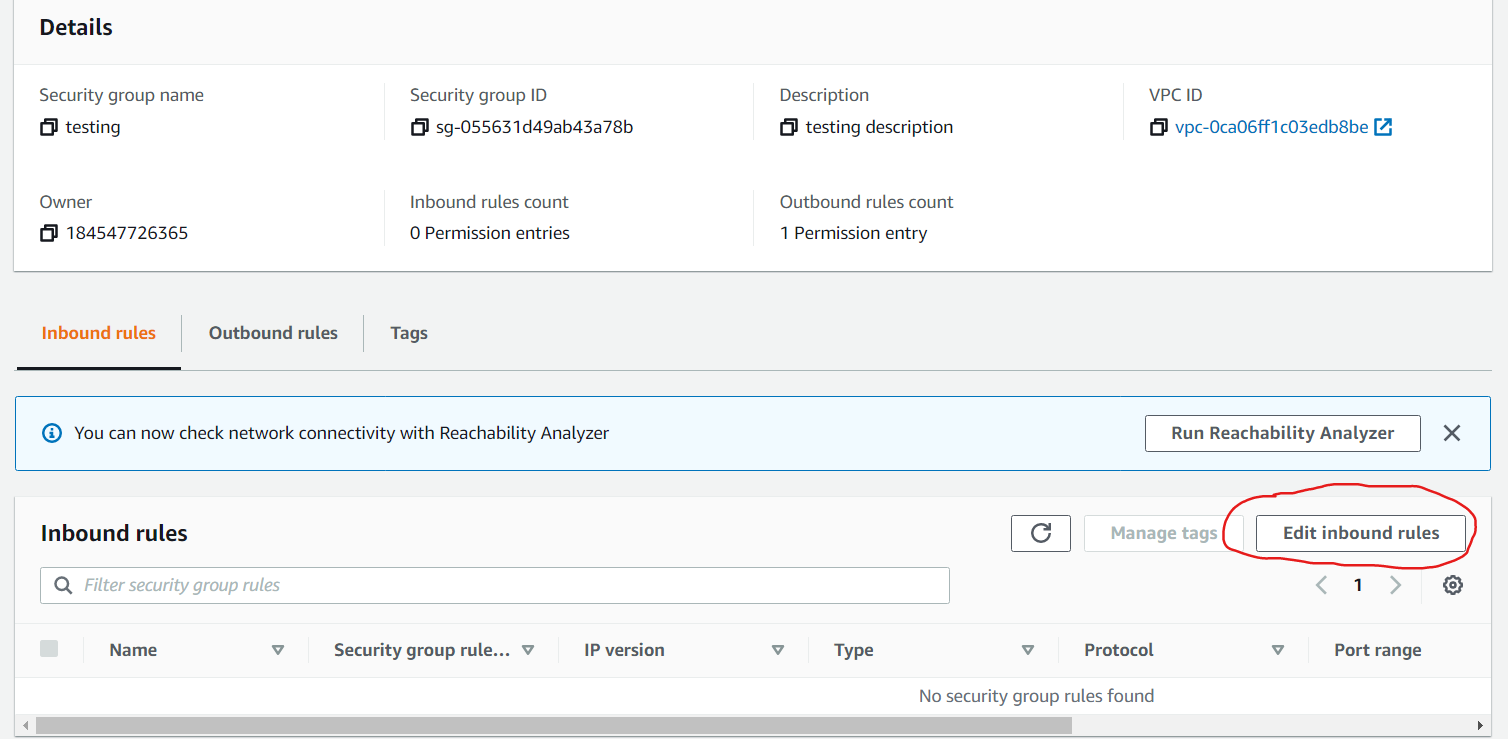
Now add a new rule by clicking the
Add rulebutton given below and hitting theSave rulesbutton.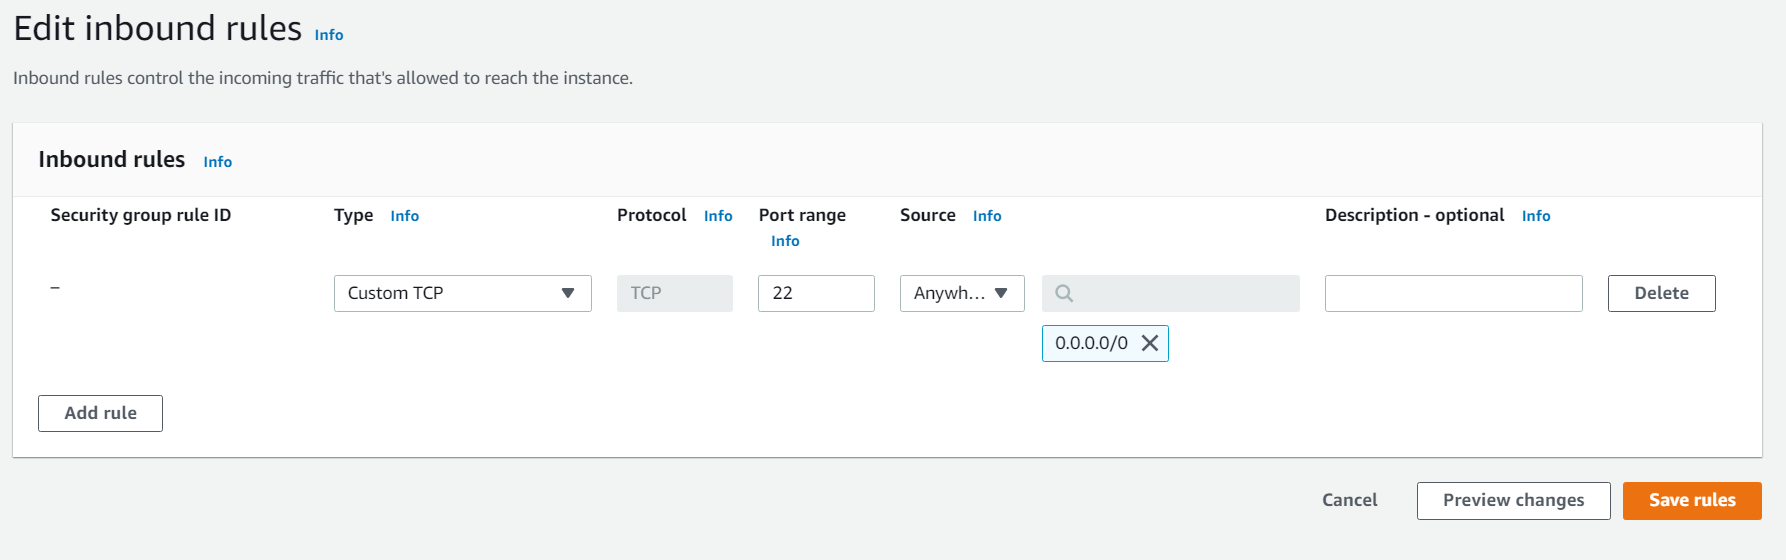
Now, retry to ssh using the same command given above. You can now able to understand how the security group works.
- We can also change the outbound rules in your security group to restrict how you want your ec2 machine can connect to the world wide web but generally it is not required to change anything for beginners.
Exercise to open port 80 for nginx
- Till now, I assume you have understood some basics of Security Groups. To better understand how it works, we will install nginx into our ec2 machine and open port 80 to access it.
Now, I assume that you've successfully ssh into your Linux machine. Now, install the nginx into it.
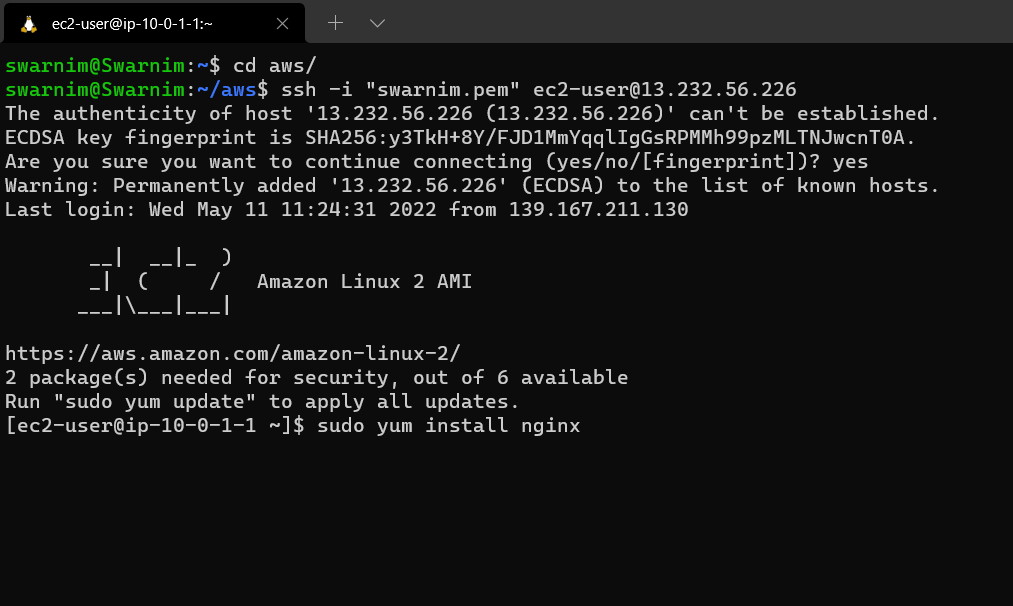 👉👉: This is a sample when you try to ssh into your Amazon Linux 2 machine.
Now, hit enter and nginx will be installed into your ec2 instance. Now, hit the below command to start the nginx service.
sudo service nginx startLet's check whether nginx is serving or not by typing the below command. It will give an output similar to the given below. Since the output is very big, so I'm attaching a part of it.
curl localhost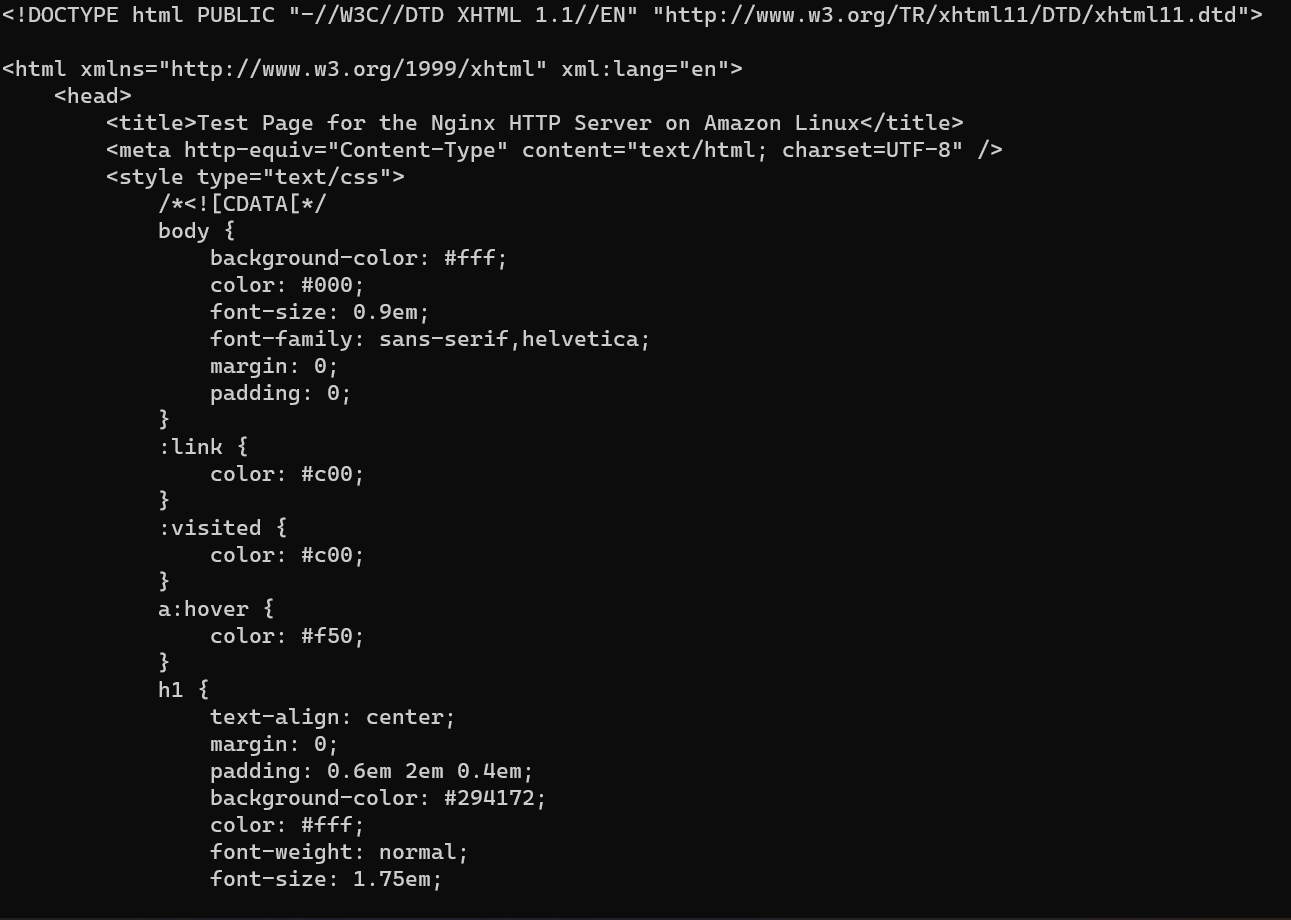
So, till now we've successfully installed nginx and configured it successfully. Now, let's check that we got some output by browsing your public IP.
Again, no worries! 😂. You don't get any output on your browser because see the security group that it is using doesn't have any inbound rules to port 80 (the port where nginx serves static files by default)

Now edit your inbound rules again and add the port 80 to it and hit the
Save rulesto save them.
Let's retry and browse your public IP address in your favorite browser. You will be able to see a similar output depending on the Linux instance you have chosen at the start.
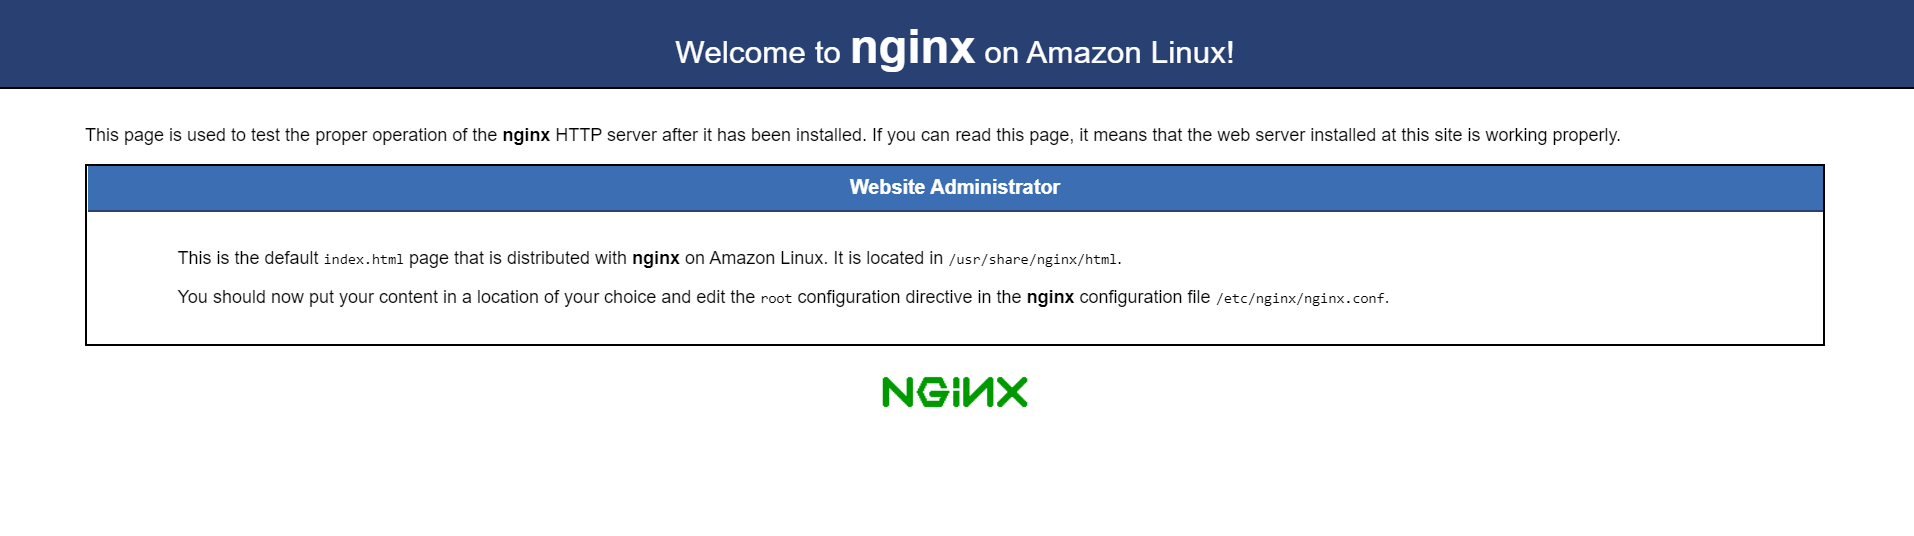
It implies that Nginx is successfully installed into your Linux machine.
Now, congratulations guys! You've to learn each and everything to understand the basics of Security Groups. You can check out the official documentation on Security Groups on AWS for more information.